Enable the OpenRelay on your Vault
🚧 Prerequisite: Please ensure you have completed the Automation Vault setup before proceeding.
The OpenRelay is a fundamental yet potent relay system. It precisely calculates the gas used for executing your job within its smart contract, reimbursing the executor in ETH for the gas costs, plus an additional incentive.
Current incentive: 120% of the gas costs, paid out in ETH instantaneously.
Step 1: Enable the relay in your vault
Inside your vault, find and click "Add New Relay," then choose Open Relay from the list.
In the Callers section of the window that appears, activate the "Allow any caller" option to permit any address to execute your job.
Next, in the Jobs section, input the details of your job. For this guide, we will use a sample job we've made available on all testnets:
Job Address:
0x129f5C4Adf38a1860e54DE46970653465A605364Selectors to allow:
work (0x322e9f04)
Now proceed by confirming in order to submit the transaction.
Step 2: Generate exec parameters
Execution of jobs through Relays requires specific data for the exec function on the Open Relay.
Jobs should always be executed through Relays. In this case, we need to generate the data needed to call the exec function on the Open Relay.
Let's gather the needed information:
_automationVault
Your vault's address.
_execData
This encapsulates the encoded function signature of your job and its parameters. A typical _execData example is as follows:
[{ "job": "<JOB_ADDRESS>", "jobData": "<JOB_DATA>" }]
Continue using the testnet sample job address: 0x129f5C4Adf38a1860e54DE46970653465A605364.
To generate the job data, we will use chisel:
> chisel
> bytes32(abi.encodeWithSignature("work()"))

Type: bytes32
└ Data: 0x322e9f0400000000000000000000000000000000000000000000000000000000
For alternative methods to generate _execData, refer to Relay exec data.
_feeRecipient
The ETH fee recipient, typically the wallet executing the job.
Step 3: Work your job for the first time
While this process is usually automated, we'll manually execute the job through Etherscan for demonstration purposes.
Visit the Etherscan page for your chosen testnet and locate the OpenRelay address listed on your vault's homepage.
Then, under the Write Contracts tab, input the parameters prepared in Step 2 and confirm the transaction.
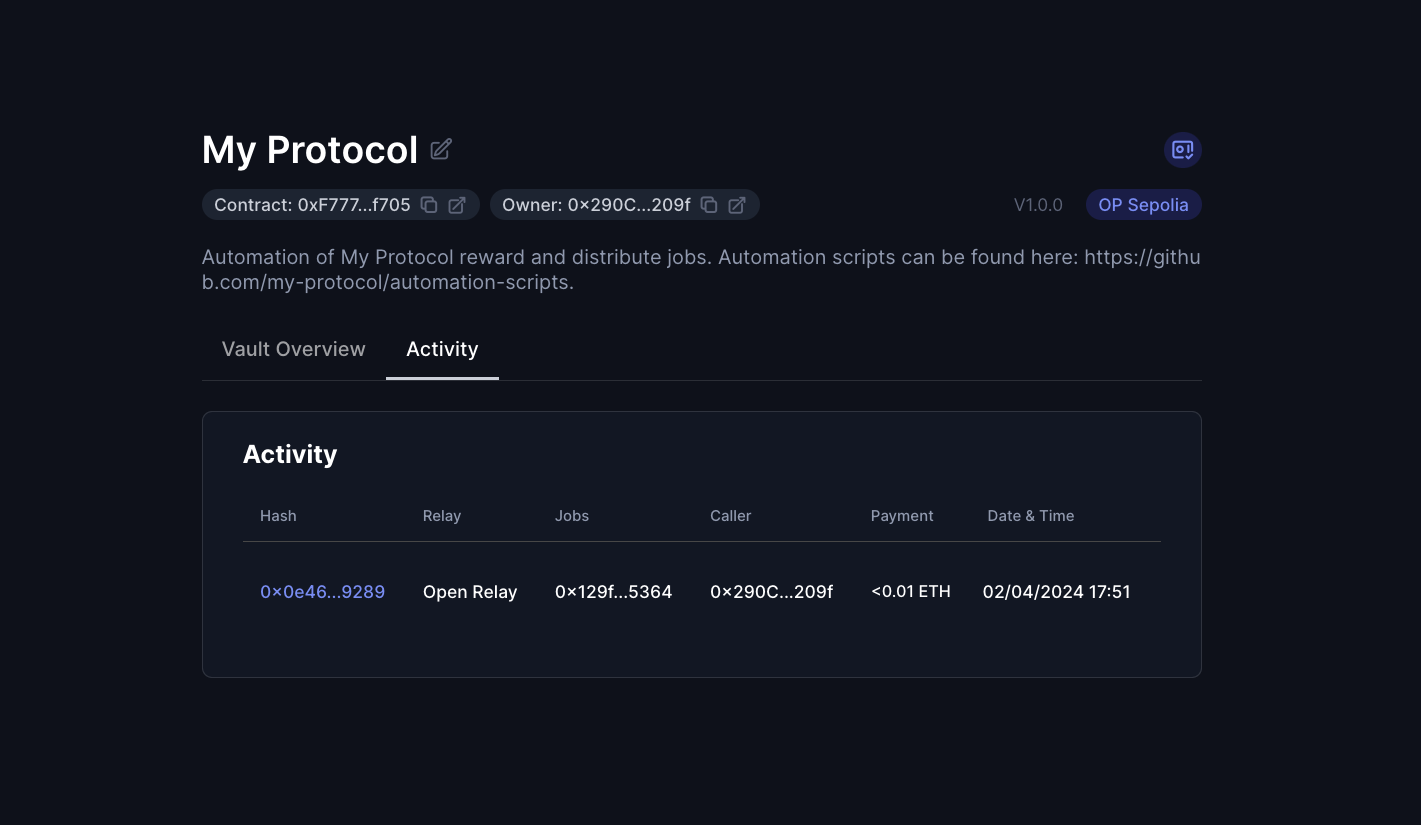
Step 4: Verify execution
After your work transaction is included onchain, you will be able to find its details under the Activity tab if your vault.